
Last updated October 17, 2026
 Metal roofing
 Tile roofing
 GAF
GAF Owens Corning
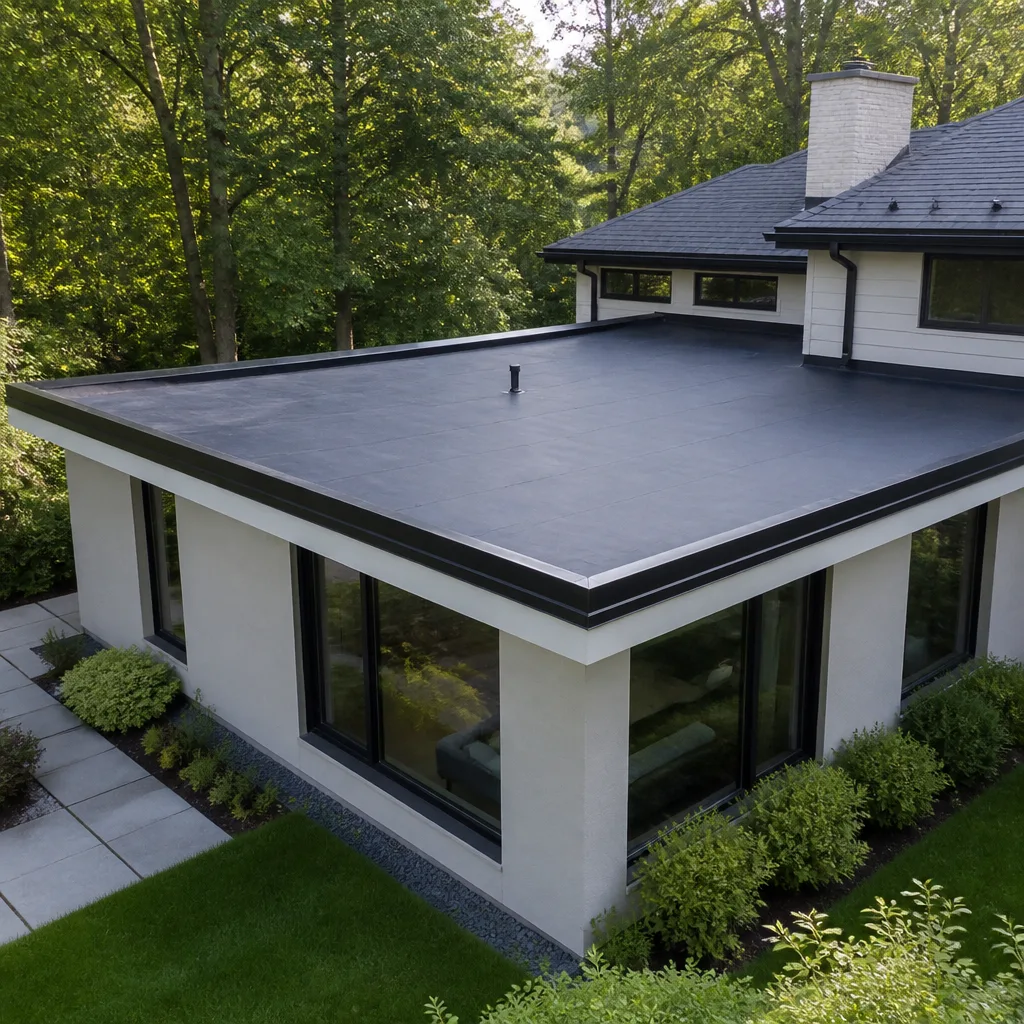 Flat & low-slope
Free roof inspection with deck photos before we talk money - GAF and Owens Corning certified installation
Roofing Permits, Codes & Inspections in CA: What You Need to Know
Every year in San Francisco, home sales stall at the last minute for one quiet reason: the roof was replaced without a permit. The work looked fine. The inspector never noticed. But the title report did. California code is clear about when a roofing permit is required, and skipping it doesn’t just risk a correction notice from the Department of Building Inspection. It can turn your home into a liability when you try to refinance, file an insurance claim, or sell. This guide lays out exactly what California and San Francisco require, what inspections actually cover, and why pulling a permit is protection, not red tape.
Styles & brands we work with
Quick Answer
Most roofing projects in California require a permit when more than 25% of the roof area is being replaced, and San Francisco’s Department of Building Inspection enforces this threshold with additional local amendments. A permit triggers at least one inspection that focuses on structural sheathing, fastening, underlayment, and final roofing material. Skipping it can make your home uninsurable and unsellable.
Table of Contents
- When a Roofing Permit Is Required in California
- How San Francisco’s DBI Interprets the 25% Rule
- What a San Francisco Roof Inspection Actually Checks
- San Francisco Fire Zones and Class A Roofing Requirements
- The Permit-to-Final-Inspection Timeline in San Francisco
- Buying a Home with Unpermitted Roofing Work
- How to Retroactively Legalize Unpermitted Roof Work
- Common Mistakes to Avoid
When a Roofing Permit Is Required in California
California Building Code section 106 sets the baseline, and the key number is 25%. If your roofing project removes and replaces more than 25% of the total roof area, a permit is required. That means a small repair in one corner of a roof might not need one. But a full re-roof, or even a large section replacement, almost always does. The code exists because roofing is structural work. A roof carries wind load, sheds water, and holds the sheathing that ties your walls together. The state doesn’t treat it as cosmetic.
There’s another trigger that catches homeowners off guard: if you’re changing the roof assembly itself. Going from a lightweight tile to heavy concrete tile? That’s a structural load change and always requires a permit, regardless of square footage. Same thing if you’re adding rigid insulation, changing the slope, or altering the roof structure. A straight material swap of like for like, under 25% of the roof, is the narrow window where no permit is needed.
Here’s what the permit triggers look like in practice:
- Full tear-off and re-roof: Always requires a permit, no exceptions.
- Large section replacement of 25% or more: Permit required, calculated across the total roof area, not the leak area.
- Under 25%, like-for-like repair: May not require a permit, but San Francisco has local rules worth checking.
- Changing material weight class: Always requires a permit, even if it’s one square of roofing.
- Adding insulation, solar mounts, or structural elements: Always requires a permit.
One more thing we hear often from homeowners in San Francisco: “My roofer said we don’t need a permit.” The code says otherwise in most full re-roofs, and a contractor who routinely bypasses permits is exposing you, not protecting you. The permit is filed in your name, recorded against your property, and follows the house for decades. This is why Birchbark Roofing San Francisco home pulls permits as standard practice on work that requires them, never as an optional add-on.
How San Francisco’s DBI Interprets the 25% Rule
San Francisco’s Department of Building Inspection enforces the state threshold, but the city’s dense housing stock and historic building inventory add local considerations. DBI treats the 25% rule across the entire roof plane system, not per-slope. If your Golden Gate Heights Victorian has five roof planes and you tear off two of them, the calculation is based on the total roof area of all five planes combined. Many homeowners assume each slope counts separately. It doesn’t.
San Francisco also has a stricter stance on what counts as “repair.” Patching a leak with new shingles over the same area, under the 25% threshold, is generally considered maintenance. But if the work involves removing and replacing the underlayment, DBI may consider it a re-roof, even if the square footage is under 25%. That’s because underlayment is part of the roof assembly, not just the visible surface. In our experience working on roofs across neighborhoods like Noe Valley and the Outer Sunset, DBI plan reviewers have consistently asked for a permit when underlayment replacement is described in the scope.
There’s also the matter of the roof’s existing condition. San Francisco’s housing stock includes a lot of buildings constructed before the 1941 building code. On those older homes, DBI may require documentation of the existing roof assembly before they’ll sign off on a permit. A photo, a product spec sheet, or a brief letter from the contractor is usually enough. The point of this local review is to ensure the roof isn’t being lightened or weakened in a way that compromises the structure.
If you’re unsure whether your project crosses the threshold, the safest first step is to call DBI’s permit center or have a contractor who works in San Francisco regularly check the scope against current local interpretation. A respectful, informed conversation with the plan reviewer often resolves the question before you spend money on the wrong permit type.
What a San Francisco Roof Inspection Actually Checks
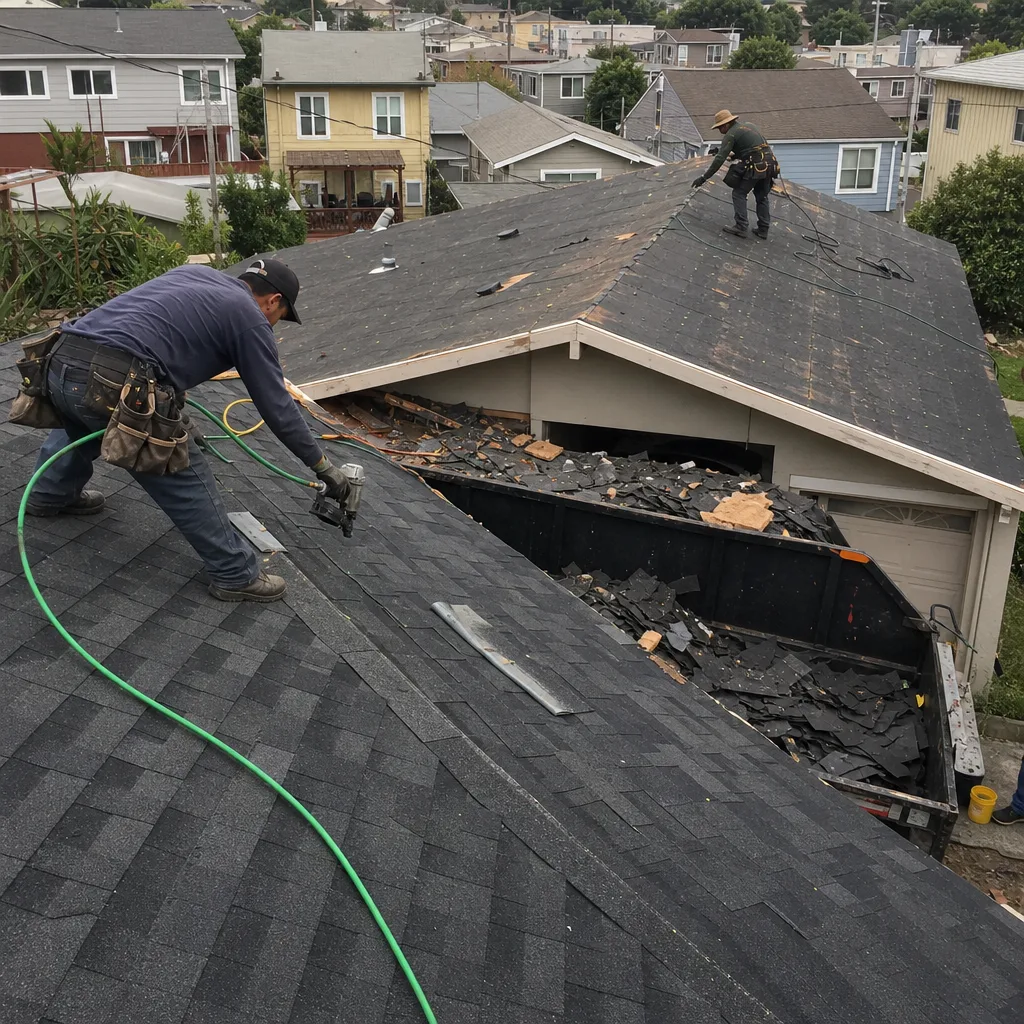
A DBI roof inspection in San Francisco is not a full quality audit of your roofer’s craftsmanship. It’s a code-compliance check. The inspector is looking at specific things: whether the roof sheathing meets minimum thickness and condition standards, whether the fasteners and nailing pattern match the manufacturer’s installation requirements for the material being used, whether the underlayment is installed correctly, and whether the final roofing material is installed per the approved plan and local wind and fire requirements.
Here’s what an inspector typically looks at, step by step:
- Sheathing condition and thickness: The inspector checks for rotted or delaminated plywood or OSB. If damaged sheathing was discovered during tear-off and replaced, the replacement must meet the same or greater thickness rating.
- Fastener schedule: Different roofing materials require different nailing patterns. A tile roof in the Richmond District has different fastening requirements than an asphalt shingle roof in the Mission. The inspector verifies that the installed fasteners match the approved plans.
- Underlayment: San Francisco requires at least one layer of an approved underlayment beneath most roof coverings. The inspector checks that it’s properly lapped and secured before the final material goes on.
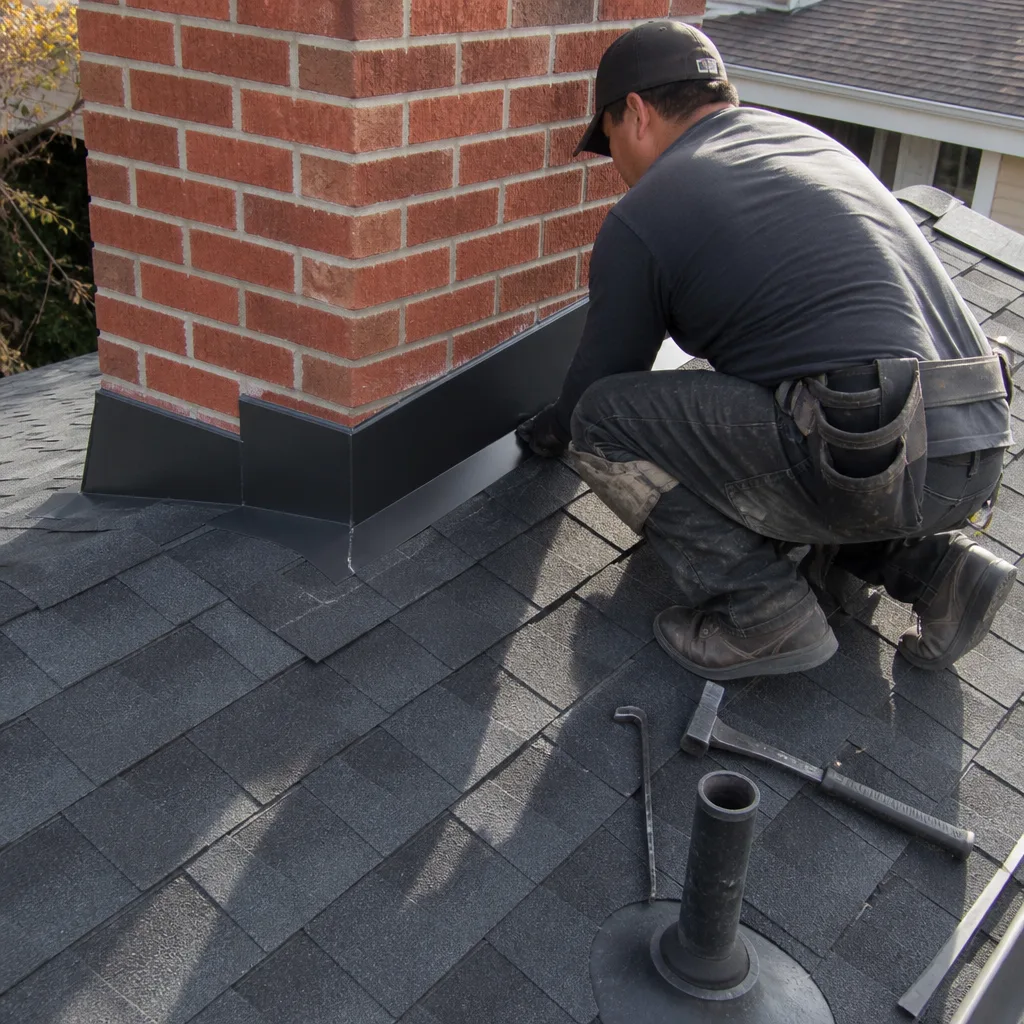
- Flashing and penetrations: Chimneys, skylights, vents, and valley flashing get attention. Improper flashing is the number one source of roof leaks, and the inspector wants to see it done to code.
- Final roof covering: The inspector verifies the material matches the approved plans and that it’s installed in accordance with the manufacturer’s requirements and the California Building Code.
What the inspection doesn’t do is guarantee against future leaks. It doesn’t assess long-term workmanship. It doesn’t tell you whether your contractor torqued every flashing screw to the right spec or whether the crew cleaned up the nails in your yard. That’s what a contractor’s workmanship warranty is for. At Roof Repair in San Francisco, we carry the inspection passing as a baseline, not the finish line. The 365-Day Done Right Promise is what covers workmanship after the inspector leaves, because a code-compliant roof can still leak if the details were rushed.
San Francisco Fire Zones and Class A Roofing Requirements
San Francisco has designated Fire Hazard Severity Zones that trigger additional roofing material requirements. The city’s local amendments to the California Building Code require Class A roof assemblies in many parts of the city, particularly in areas with dense wood-frame construction, steep slopes adjacent to open space, or a history of fire exposure. If your property is in one of these zones, your re-roof must use a Class A fire-rated assembly, which includes the roofing material, the underlayment, and the structural components together.
Here’s how to check your zone:
- Look up your address in DBI’s property information portal: The city maintains a searchable database where you can enter your address and see any fire zone designations attached to the parcel.
- Check the San Francisco Fire Department’s hazard map: The SFFD publishes an interactive map that overlays fire severity zones by address.
- Review your original roof permit: If a previous re-roof was permitted, the permit will note any Class A requirement that applied at the time.
What does Class A mean in practice? It’s a fire-resistance rating for the entire roof assembly. Materials like asphalt shingles from GAF, CertainTeed, and Owens Corning are commonly available in Class A configurations. Tile and metal roofs typically meet Class A when installed with a compatible underlayment. The important point: it’s the assembly, not just the shingle, that earns the rating. A Class A shingle over a non-compliant underlayment doesn’t give you a Class A roof.
In our work on Roof Replacement in San Francisco projects across the city, we’ve found that homeowners in neighborhoods like Forest Hill and Miraloma Park are often surprised to learn they’re in a fire zone. The designation isn’t always obvious from the street. It’s worth checking before you buy materials, because if you buy a non-Class A roof and the city requires Class A, you’ll be replacing it on your own timeline, not the city’s.
The Permit-to-Final-Inspection Timeline in San Francisco
San Francisco’s permit process is straightforward but not fast. Here’s the typical sequence for a residential re-roof in the city, from first call to final sign-off:
- Permit application and plan review: 1 to 3 weeks depending on DBI’s current volume. Simple re-roofs with like-for-like materials often move through plan review faster than projects involving structural changes or complex roof assemblies.
- Permit issuance: Once plan review is complete and fees are paid, the permit is issued. Work can begin after a 24-hour posting period and any required neighbor notification.
- Rough inspection (if required): Some projects need an inspection mid-job, when the old roof is off and the sheathing is visible but before the new material goes on. This catches any rotted sheathing that wasn’t in the original plan.
- Final inspection: Scheduled after the roof is fully installed. DBI inspectors are generally available within 1 to 10 business days of a request, depending on the district and time of year.
- Final sign-off: The inspector approves the work, and the permit is closed. The approval is recorded against your property and becomes part of the permanent record.
Delays happen. Rain can push the schedule. DBI staffing fluctuates. When a roof is torn off and there’s a delay before the next inspection, the home is vulnerable to water intrusion. A responsible San Francisco roofer builds this into the schedule and doesn’t promise a tear-off date they can’t hold. The permit timeline also affects your payment schedule. Reputable contractors tie final payment to final inspection sign-off, not the last shingle. If a contractor asks for full payment before the inspector has approved the work, that’s a red flag. The sequence you want is: work completed, inspection scheduled, inspector approves, final payment released. In our experience, it’s the cleanest way to protect both parties, and it’s how Birchbark Roofing San Francisco home structures every job.
Buying a Home with Unpermitted Roofing Work
You’re in escrow on a San Francisco home, and the disclosure report flags it: the roof was replaced in 2019, but no permit was ever filed. What happens next depends on how the work was done and how the seller responds. Here’s what to understand before you sign anything.
Unpermitted roofing work doesn’t automatically kill a sale, but it shifts the risk. The buyer’s lender may require the work to be permitted and signed off before they’ll fund the loan. A buyer’s insurance company may refuse to write a policy on a home with known unpermitted structural work. And a buyer’s inspector will almost certainly flag it, which gives the buyer leverage to demand a price reduction or a cure. In a competitive market, sellers sometimes accept the risk and sell as-is. But as the buyer, you’re inheriting a roof that exists outside the city’s record.
Here’s what you should do if you’re the buyer:
- Ask for documentation: Request any receipts, material invoices, or contractor information from the seller. Evidence that the work was done by a licensed contractor with quality materials helps in the retroactive permit process.
- Factor the cost of retroactive permitting into your offer: The permit fees are modest, but if the inspector requires corrections, the cost climbs. A ballpark for simple retroactive roof permitting in San Francisco is $500 to $1,500 in fees, plus any correction work the inspector requires.
- Request a roof inspection from a contractor you trust: A DBI inspector checks for code compliance, but a contractor’s eye will catch workmanship issues. In San Francisco, a buyer’s roof inspection typically runs $200 to $500 and is the best money you’ll spend during escrow.
- Negotiate the cure: Often the cleanest solution is for the seller to pull a retroactive permit and pass the final inspection before closing. If the seller won’t, you should price the home assuming you’ll do it yourself.
The biggest mistake buyers make is treating unpermitted roofing as a minor disclosure item. It’s not. It affects insurance, lending, and future resale value. In San Francisco, where homes change hands at significant prices, the cost of retroactive permitting is a rounding error compared to the cost of losing insurance or having a buyer walk away down the line.
How to Retroactively Legalize Unpermitted Roof Work
Retroactive permitting in San Francisco is a known process. The city understands that unpermitted work happens, and it has a path to bring the property into compliance. The process is essentially the same as pulling a permit before the work, but with one added step: the city knows the work is already done.
- File the application: You or your contractor submits a permit application for the work as it currently exists. You’ll need to describe the scope accurately: what was replaced, what materials were used, and when the work was done.
- Pay the fees, including any penalties: DBI may add a penalty to the standard permit fee for unpermitted work. In practice, the city is generally reasonable when honest homeowners come forward voluntarily.
- Schedule a compliance inspection: The inspector reviews the existing roof for code compliance. If the work meets current code, the inspector signs off. If not, you’ll get a correction list.
- Complete any required corrections: Common corrections on retroactive permits include adding missing underlayment, correcting flashing details, or replacing non-compliant materials. The cost varies widely depending on what was done wrong.
- Pass the final inspection: Once corrections are done, the inspector returns, approves the work, and the permit is closed. The property is now compliant and the work is on record.
Retroactive permitting isn’t punishment, and it’s not as painful as most homeowners fear. In San Francisco, we’ve seen the process move in as little as two weeks when the work was done well originally and just lacked the paperwork. The key is having a contractor who knows the city and can describe the scope in the language DBI wants. At Birchbark Roofing San Francisco, we handle retroactive permits for homeowners who bought a house with unpermitted work or who discovered a previous contractor skipped the paperwork. We treat it as a normal part of roofing in this city, not a crisis.
Common Mistakes to Avoid
- Trusting a contractor who says “you don’t need a permit” without checking the code yourself. The 25% threshold and the like-for-like material rule are simple enough to verify. A contractor who dismisses permits is dismissing your future insurability and resale value.
- Assuming a small leak repair won’t trigger a permit. The threshold is based on the total roof area, not the leak area. A “small” repair that spans 30% of a small roof can still cross the line.
- Ignoring San Francisco’s fire zone map. If your house is in a Class A zone and you install a non-compliant roof, the city will catch it on inspection, and you’ll pay for the replacement twice.
- Paying in full before final inspection sign-off. The inspection is part of the job, not an afterthought. Hold final payment until the inspector approves the work.
- Buying a home with unpermitted roofing work and not factoring in the cure. A retroactive permit is straightforward, but it costs money and time. Price the home accordingly.
- Throwing away the old roofing material receipts. If you ever need to prove what was installed for a retroactive permit or an insurance claim, those receipts are your evidence.
When to Call a Professional
If you’re planning a re-roof in San Francisco, or if you’re buying a home with unpermitted work, or if you’re not sure whether your project crosses the 25% threshold, the time to call a contractor is before the work starts, not after. A local roofer who works in the city can tell you in one conversation whether your project needs a permit, what the timeline looks like, and what the inspector will look for. They can also pull the permit for you, which is well worth the markup in saved time and fewer plan-review cycles.
In our experience, homeowners in San Francisco benefit most when the contractor handles the permit from day one. The plans get described correctly the first time, the inspections get scheduled on time, and the whole process moves faster. Birchbark Roofing San Francisco offers free estimates in San Francisco – call (831) 228-3330 to schedule yours.
Frequently Asked Questions
Generally yes, if you’re replacing more than 25% of the total roof area, which most full re-roofs exceed. San Francisco’s Department of Building Inspection enforces this threshold and may require a permit even for smaller jobs if the underlayment is being replaced or the material weight class changes.
Roofing permit fees in San Francisco typically run between $300 and $1,200 for a standard residential re-roof, depending on the project’s valuation and square footage. Retroactive permits may add a penalty, but DBI is generally reasonable with homeowners who come forward voluntarily. Call (831) 228-3330 for a free estimate that includes the permit fee in writing.
The unpermitted work will surface in the disclosure process, and your buyer’s lender or insurance company may refuse to proceed until the work is retroactively permitted. This can delay closing, reduce your sale price, or kill the deal entirely. Retroactive permitting typically costs $500 to $1,500 in fees plus any correction work, and it usually resolves the issue within two to four weeks.
No. A DBI inspector verifies code compliance: sheathing thickness, fastening, underlayment, flashing, and final material. The inspector does not evaluate long-term workmanship or catch every possible leak point. That’s what a contractor’s workmanship warranty covers, which is why Birchbark Roofing San Francisco backs every job with the 365-Day Done Right Promise.
Look up your address in DBI’s property information portal or review the San Francisco Fire Department’s hazard zone map. If your parcel is in a designated Fire Hazard Severity Zone, your re-roof must use a Class A fire-rated roof assembly, including the underlayment. Many shingles from manufacturers like GAF, CertainTeed, and Owens Corning are available in Class A configurations.
Most residential re-roofs in San Francisco take 3 to 6 weeks from permit application to final inspection sign-off, not including any rain delays. Plan review typically takes 1 to 3 weeks, the work itself takes 1 to 5 days, and the final inspection can be scheduled within 1 to 10 business days of completion.
The Bottom Line
Roofing permits in California, and especially in San Francisco, aren’t optional bureaucracy. They are the mechanism that keeps your home insurable, financeable, and sellable. The 25% threshold, the local DBI interpretation, the fire zone Class A requirements, and the inspection process all exist to protect the person who owns the building, not just the person who’s working on it. In our experience, homeowners who understand this process from the start have smoother projects, cleaner inspections, and no surprises when it’s time to sell. If you’re planning roofing work in San Francisco and want the permit handled correctly from day one, Birchbark Roofing San Francisco home pulls permits as standard practice on work that requires them and schedules every inspection as part of the job, not an afterthought. The day the inspector signs off, you’ll have a paper trail that protects your roof and your home’s value for decades.
Written by Erik Lindgren, Owner at Birchbark Roofing San Francisco, serving San Francisco since 2000.
See the difference
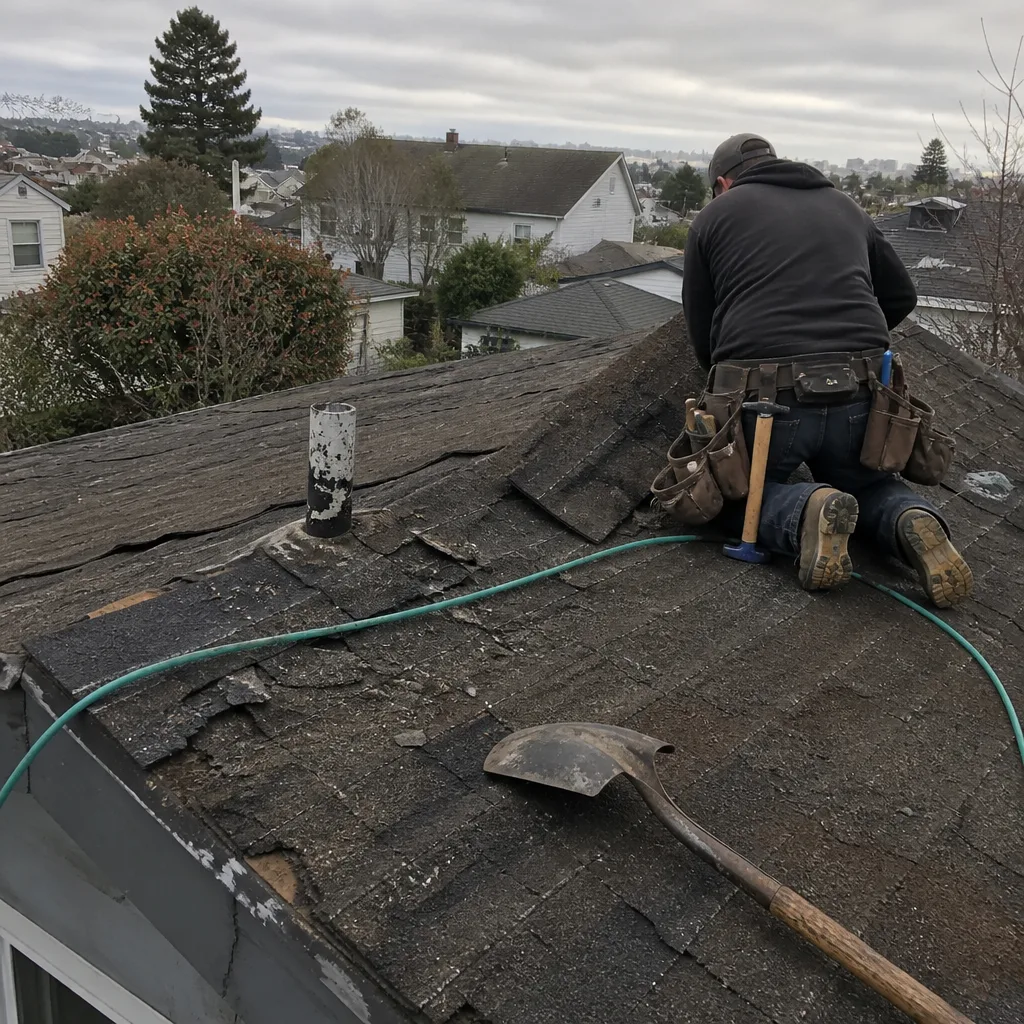 Before
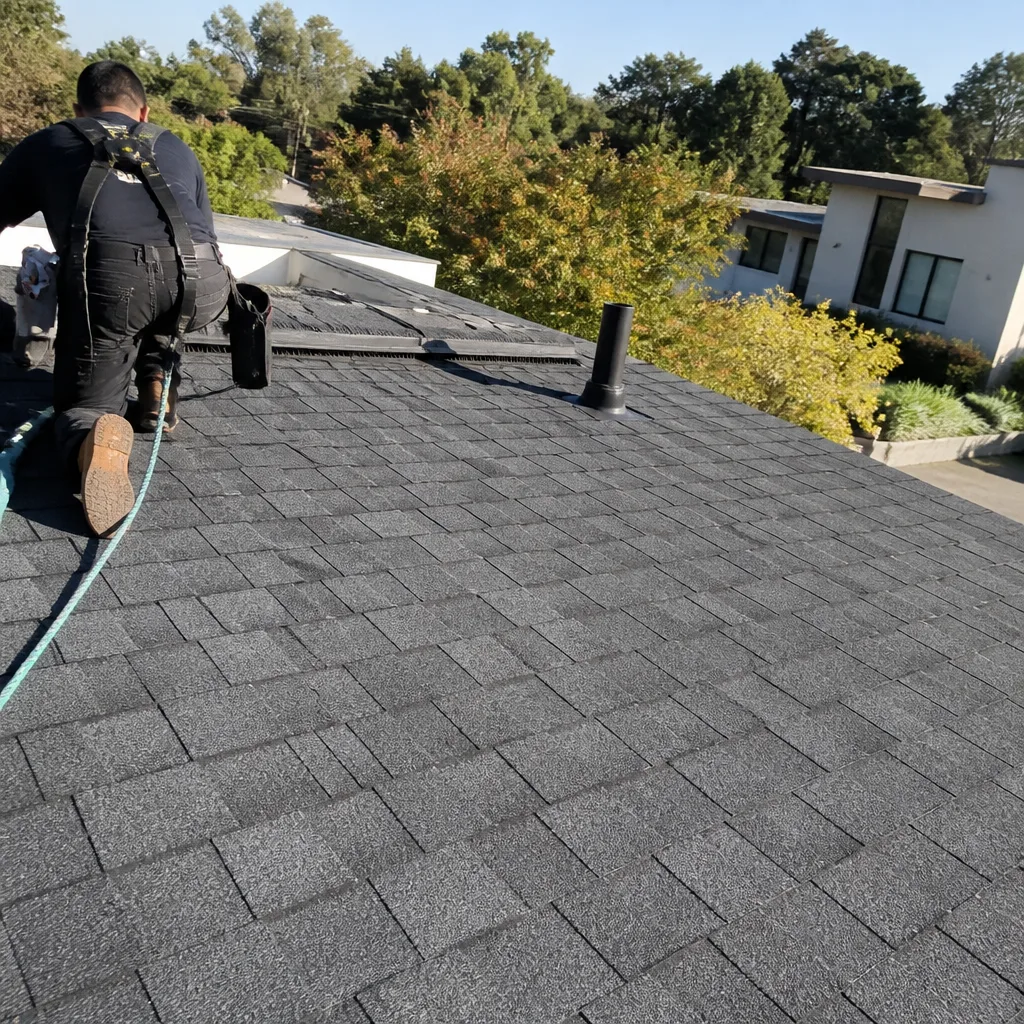 After
After Before
 After
After Before
 After
After